
May 9, 2025
By Aleksander Kara, Library Intern
Of all the books I discovered in The Wolfsonian Library, E. A. Séguy's Insectes [Insects] portfolio immediately drew my eye with its cover, showing a long-horned beetle in a striking red-black-and-orange color scheme. Inside the book are color plates with strikingly detailed scientific illustrations of insects such as beetles, cicadas, dragonflies, and grasshoppers. The final few plates veer into bold color and abstraction—perfect for wallpaper or fabric.
E. A. (Emile-Allain) Séguy (1877–1951), a French designer working at the intersection of Art Deco and Art Nouveau in the 1920s, believed that insects deserved more attention as sources of inspiration. He lamented the lack of reference material available to designers and praised insects as "marvelous machines, with parts that fit together with a precision, harmony, and intelligence." I couldn't agree more! I have a love for all sorts of creepy crawlies, especially beetles, centipedes, millipedes, spiders, and tailless whip scorpions.
The illustrations were made using the pochoir technique (French for "stencil"). With stencils, the printmaker will add colors individually layer by layer. This method can be used for designs ranging from simple to complex. I knew I had to give it a try!
Check out the Insectes portfolio in full, and learn how to make your own Séguy-inspired pochoir prints using Aleksander's steps below.
Steps for Pochoir Printmaking
1. Create the Design

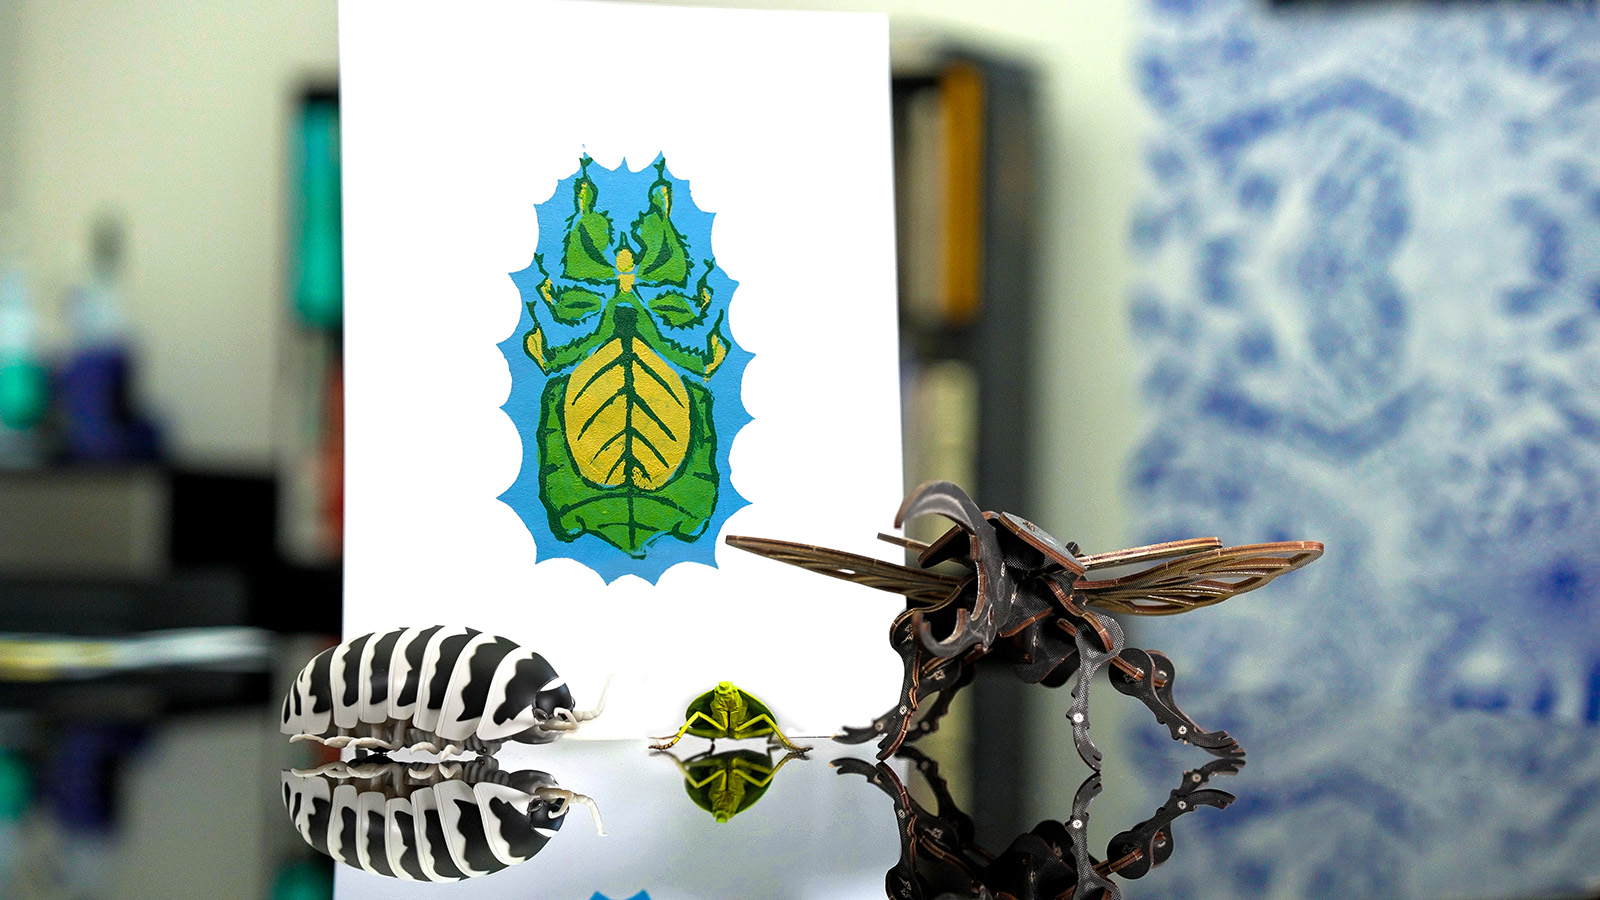
After a lot of brainstorming, I chose the Pulchriphyllium giganteum, or giant Malaysian leaf insect, as my subject.
I found a reference image I liked and created the design in different layers for my stencils. Using free image editor Gnu Image Manipulation Program (GIMP), I drew the overall design and then split it into layers, which would serve as the outlines for each stencil.
2. Prepare the Layers
I noted that Séguy’s design prints had 4 to 6 different colors each, so I decided to make my design in 4 layers (background, lightest, light middle, dark middle, and darkest/outline). In contrast, Séguy's scientific illustrations have far more layers (at least 15 or 20 per specimen), which is how he was able to make them so detailed with many color gradients.
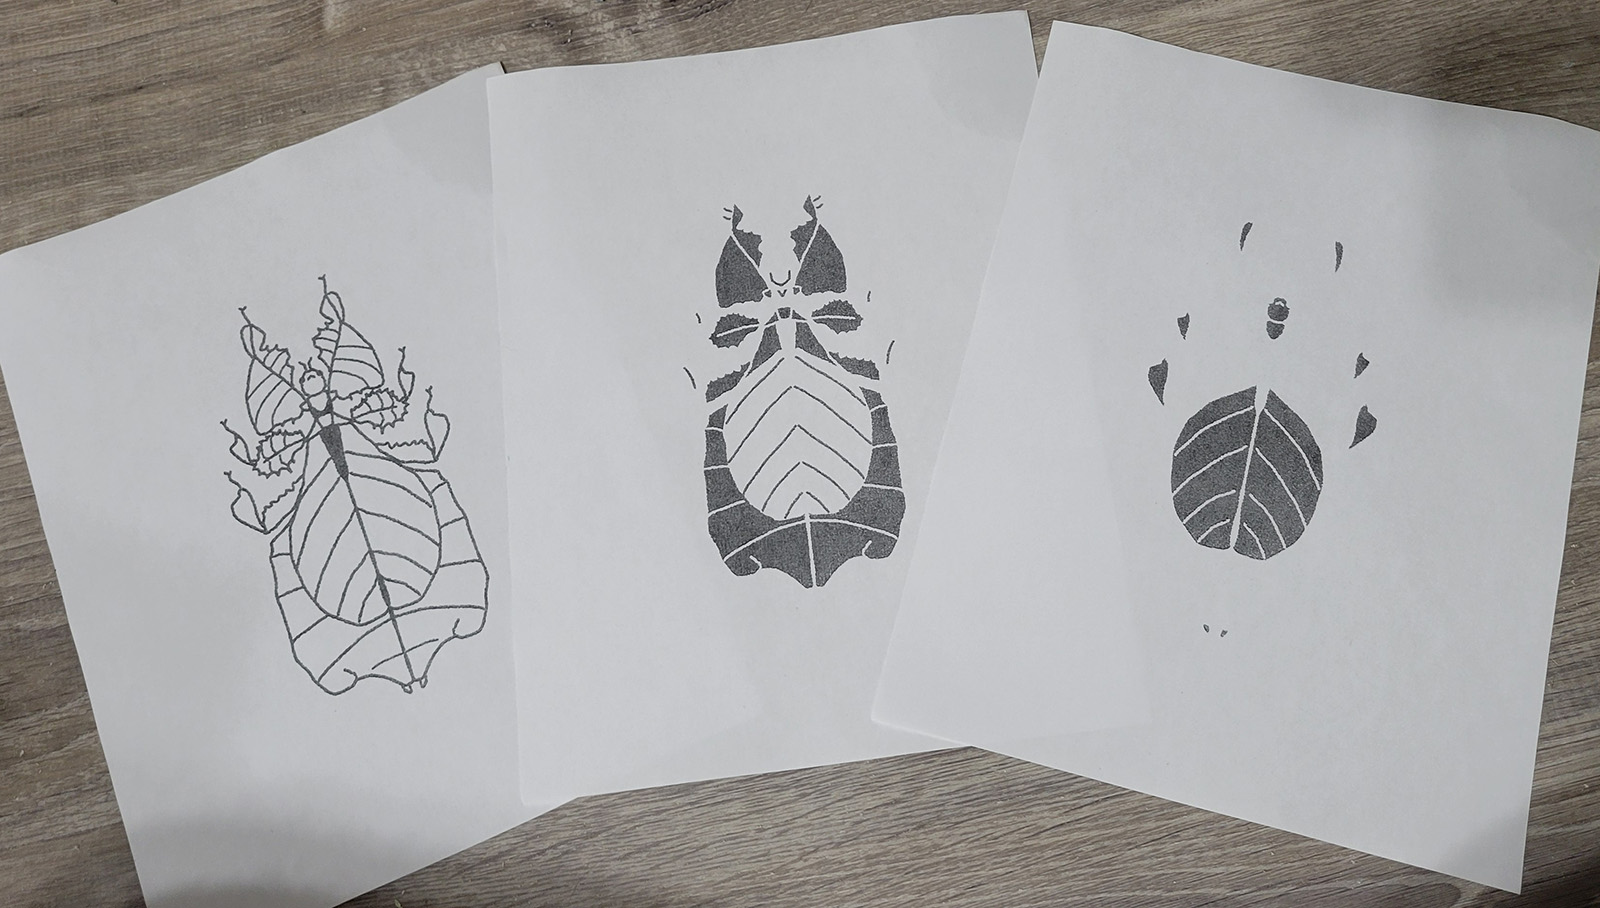
With my layers ready to go, I printed them all out in preparation for transferring them onto my stencil material.
3. Make the Stencils
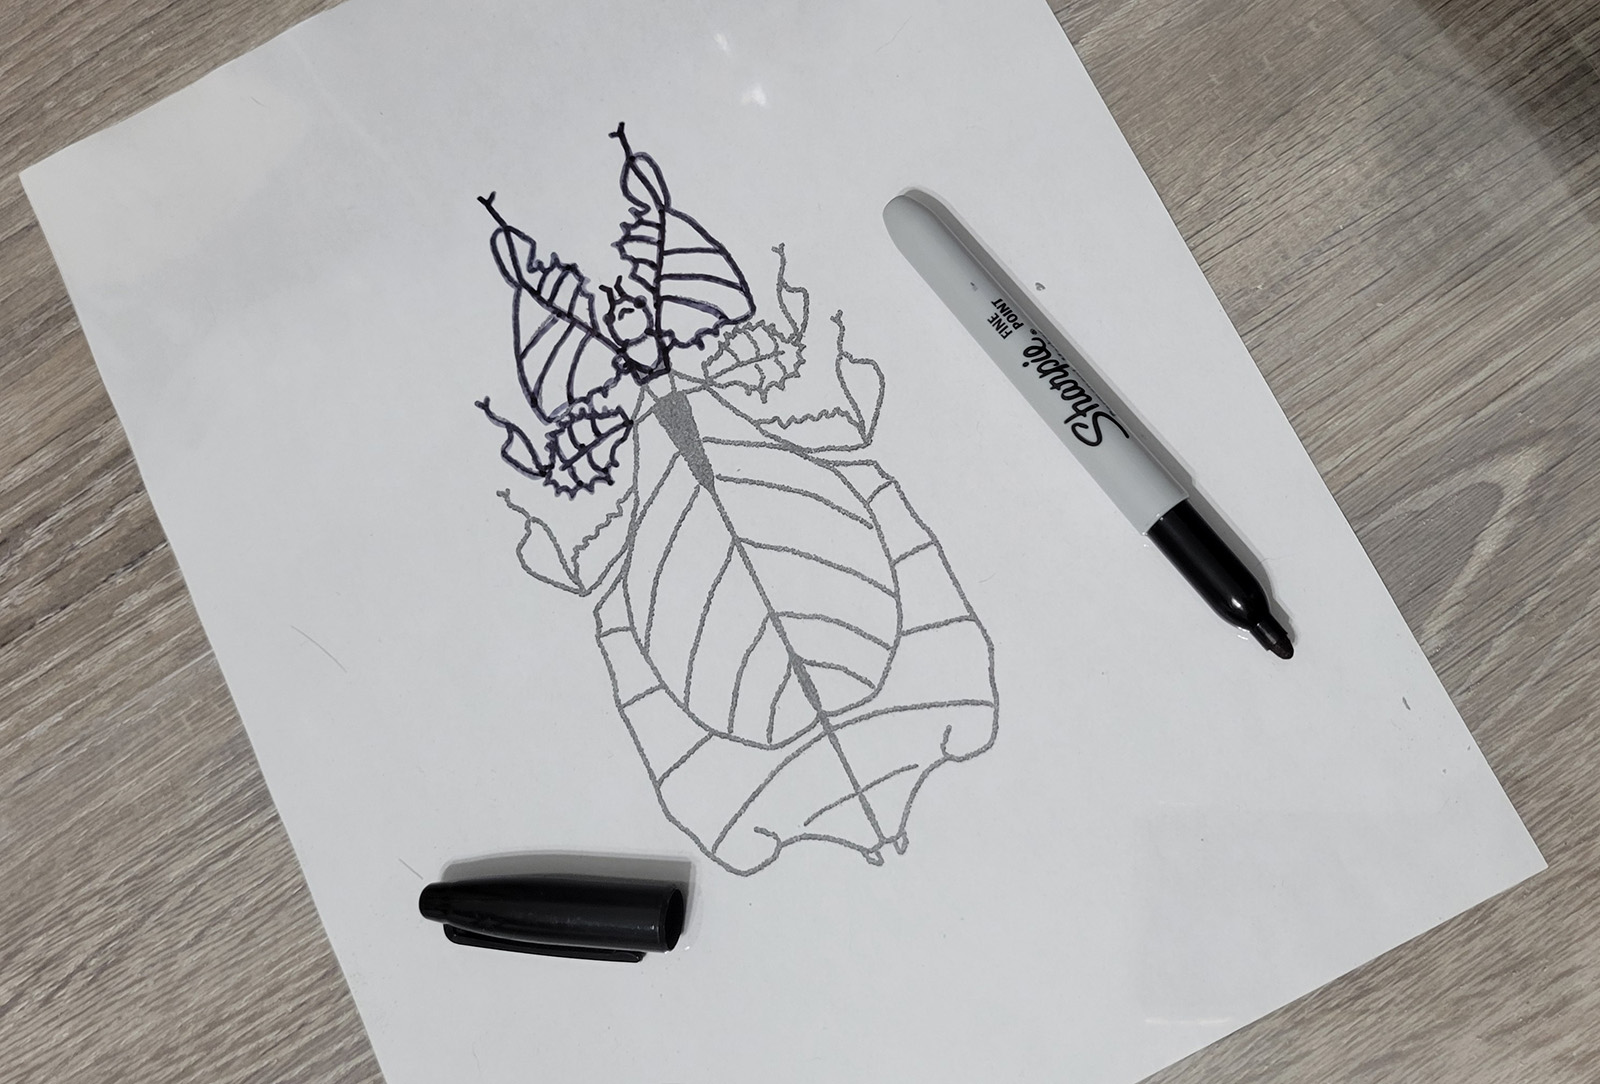
Using a permanent marker, I traced my designs onto transparent 12 x 12-inch 4-millimeter mylar sheets. Mylar is transparent, which helps with lining up the stencil in the right place, but they can be made using a variety of materials, such as thick recycled paperboard.
After the designs were transferred, I carefully cut them out with a sharp craft knife. For some of the stencils, the mylar would have been too thin and delicate in some areas, so I ended up having to simplify some aspects on the fly. Seguy's designs were much more intricate than mine, meaning there was a lot of care and precision that went into the creation of his stencils.
4. Time to Print
With my designs all cut out, it was time for the fun part: printing! Going from lightest to darkest, with plenty of drying time in between, I printed each design onto a 9x12-inch piece of paper. Séguy does not specify what tools he used in the making of his prints, so I ended up going with a method I've seen used for stencil-making before. Due to the time period of when Insectes was published, however, it is likely that his stencils were made with thin sheets of brass or another easily cut metal that could sustain printing dozens of portfolios.
Note: To ensure that each design would line up properly, I drew centering lines with permanent marker and pencil onto each stencil and print.
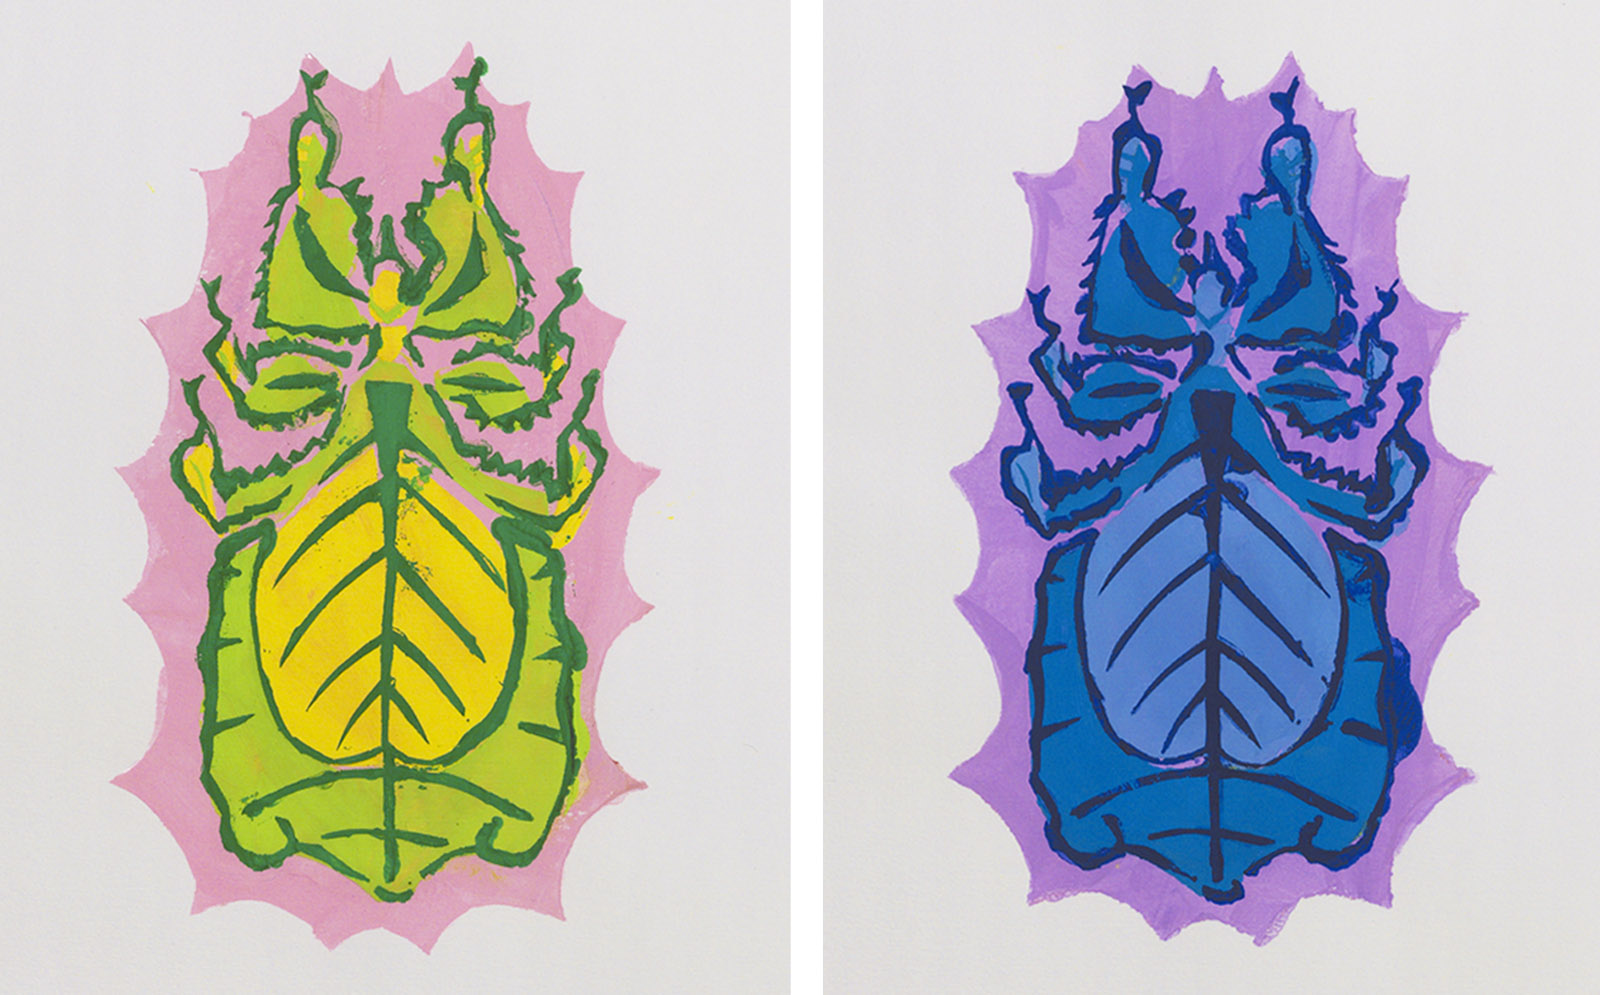
5. Experiment!
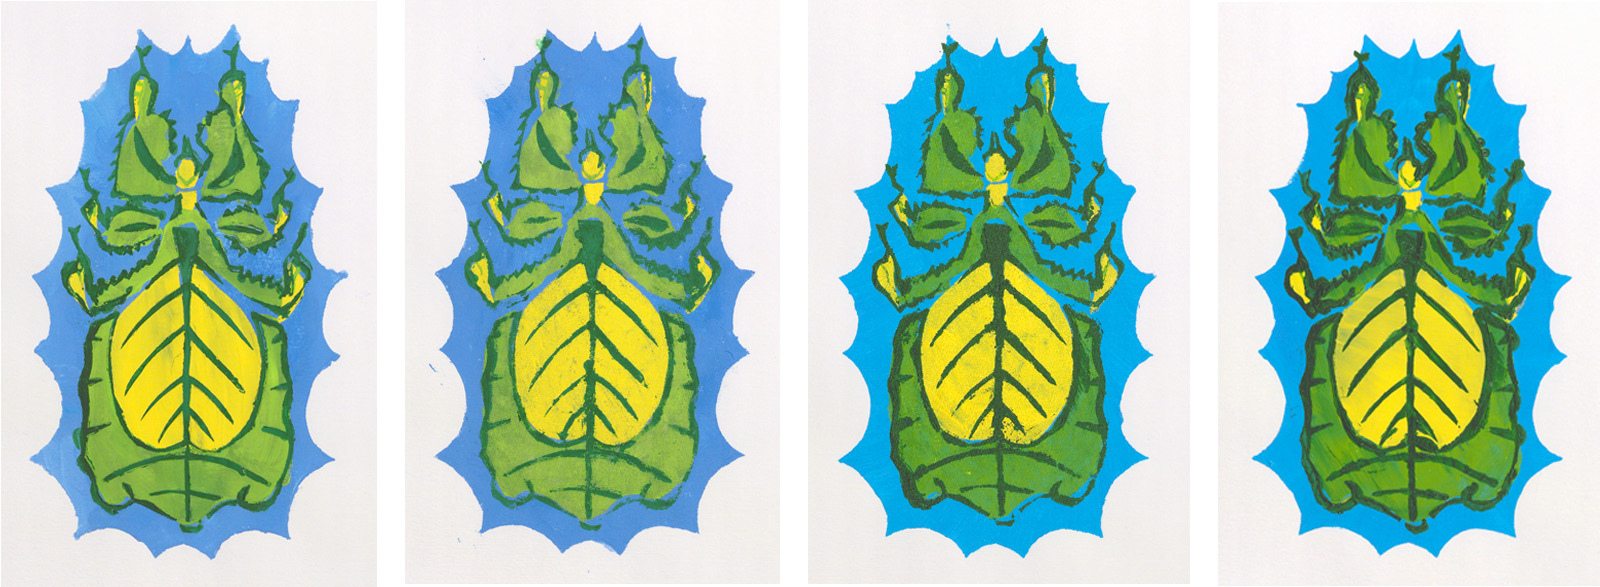
I compared results using traditional brushes and sponge brushes, as well as gouache and acrylic paint. For my initial prints, I used a set of water-activated gouache paints and a brush. However, the brush technique was not ideal, as there was some paint seepage under the edges of the stencils. For best results, I recommend a sponge brush instead of a traditional paintbrush.
Final Thoughts
While I already had some printmaking experience prior to starting this project, it was only with linoleum cutting and screen printing. I had only ever used pre-made stencils, so it was very fun and interesting to go through the entire process of making my own from scratch. I learned a lot about the pochoir process just through experimenting to figure out what worked the best, which combined with my prior artistic knowledge, resulted in some bold prints I could not be happier with.
Banner image: Portfolio plate (detail), from Insectes [Insectes], c. 1929. Emile-Allain Séguy (French, 1877–1951), designer. Éditions Duchartre et Van Buggenhoudt, Paris, publisher. The Wolfsonian–FIU, Gift of Historical Design, XC2019.02.1.60.